

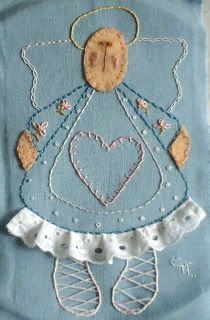
So I set about sketching a little angel. Firstly in pencil and then I drew over the sketch in felt-tipped pen so that I could see the lines more clearly when I transferred the image to fabric. I traced the image onto my background fabric (using the window as a light source) and then spent a very enjoyable morning embroidering it. This is how the embroidered angel finished up. She is a little different to the original sketch but I am very pleased with her.

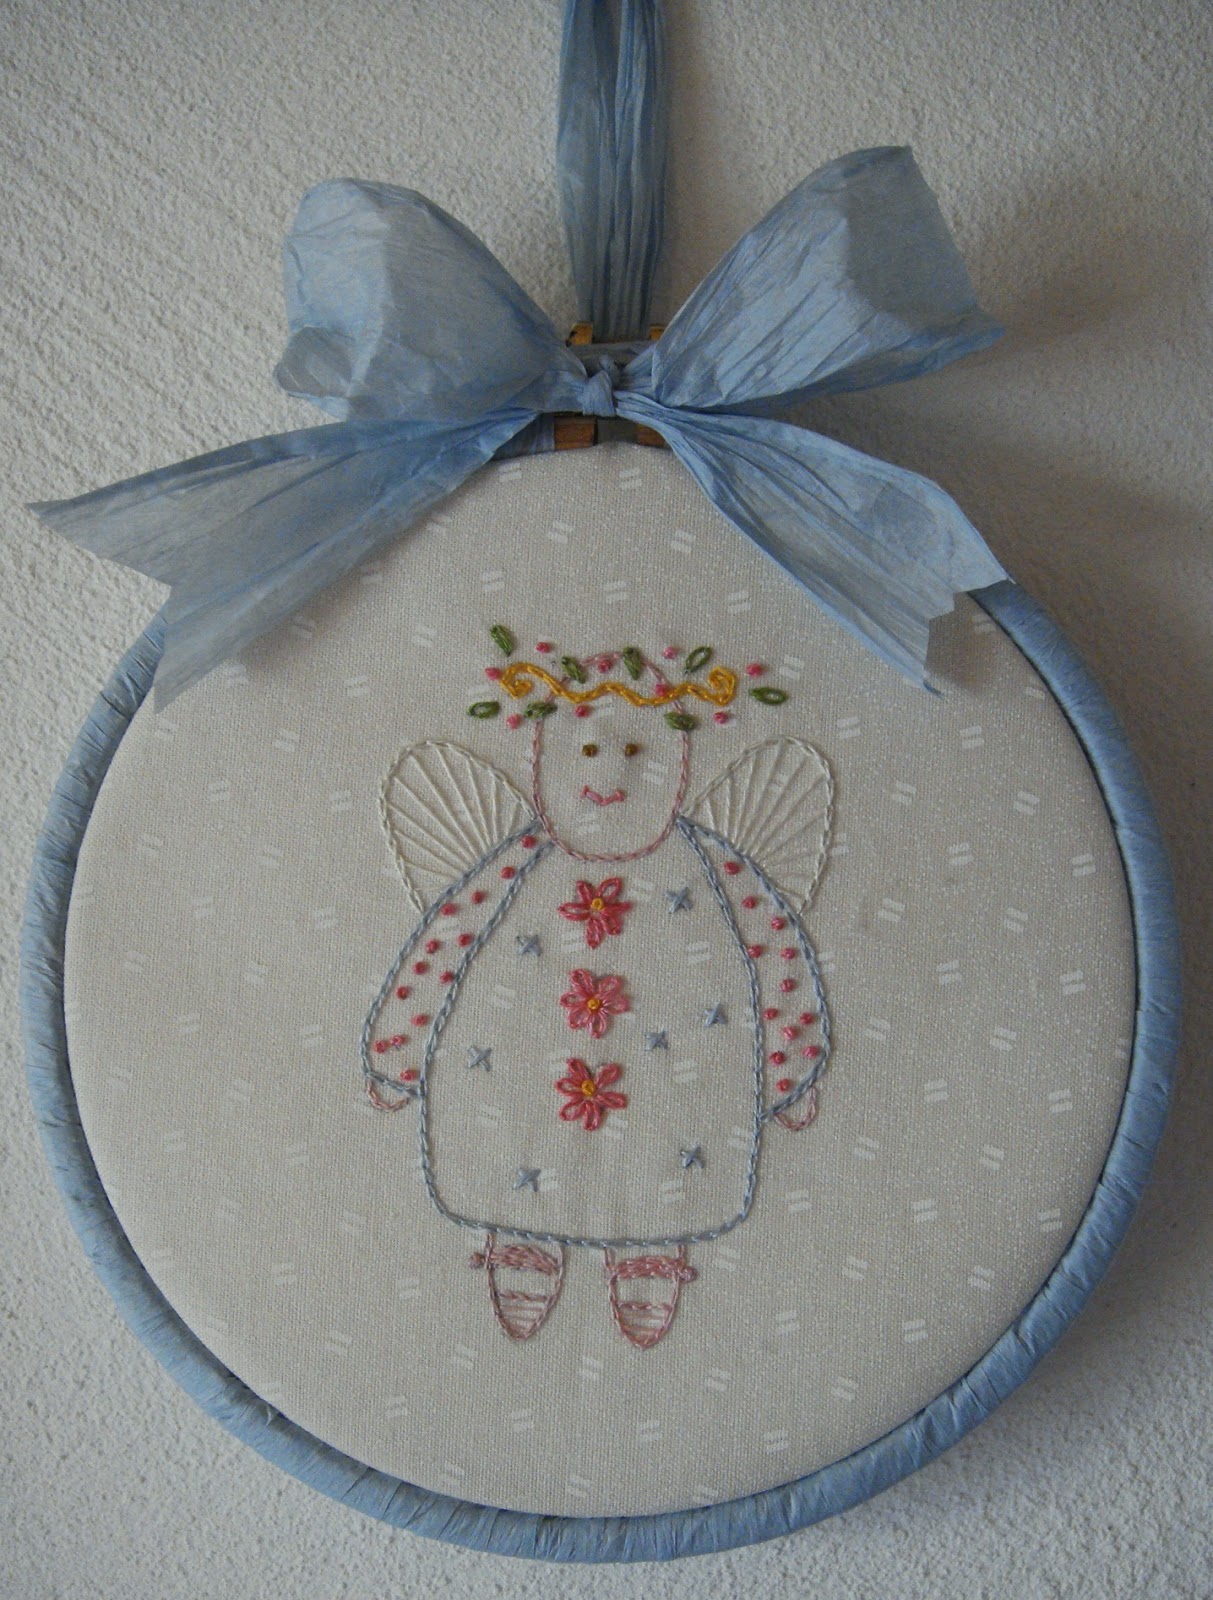
Once the embroidery was finished I decided that I wanted to decorate the hoop so that it could be used as a frame. Instead of using knitting yarn as I have done in the past, I used some paper ribbon that I had. It is the sort of ribbon that you have to patiently untwist to get the full width of the paper. I cut some lengths of ribbon and carefully unfolded them to their full width and then wound them onto the hoop.

I really like the effect the paper gives to the finished hoop.

I pressed my embroidery and trimmed up the fabric into a circle big enough to hem and gather it to the back of the inner hoop so that it looks neat and tidy on the back.

This is how my Angel Hoop Art looked at this stage but, I needed something to hang it up with.

To finish it off and also provide a hanging loop, I added a further piece of unfolded paper ribbon which I tied round the screw adjustment at the top of the hoop.

I am very pleased with the finished project! A very satisfying morning's work!!
So very sweet.
ReplyDeleteThank you! :)
DeleteVery cute - the paper ribbon frame looks good
ReplyDeleteThanks Janet! I was pleased with how the frame looks too!
DeleteVery Sweet Christine!
ReplyDeleteThank you! I enjoyed stitching her!
Delete