Monday 19 December 2022

Revamping is finished....

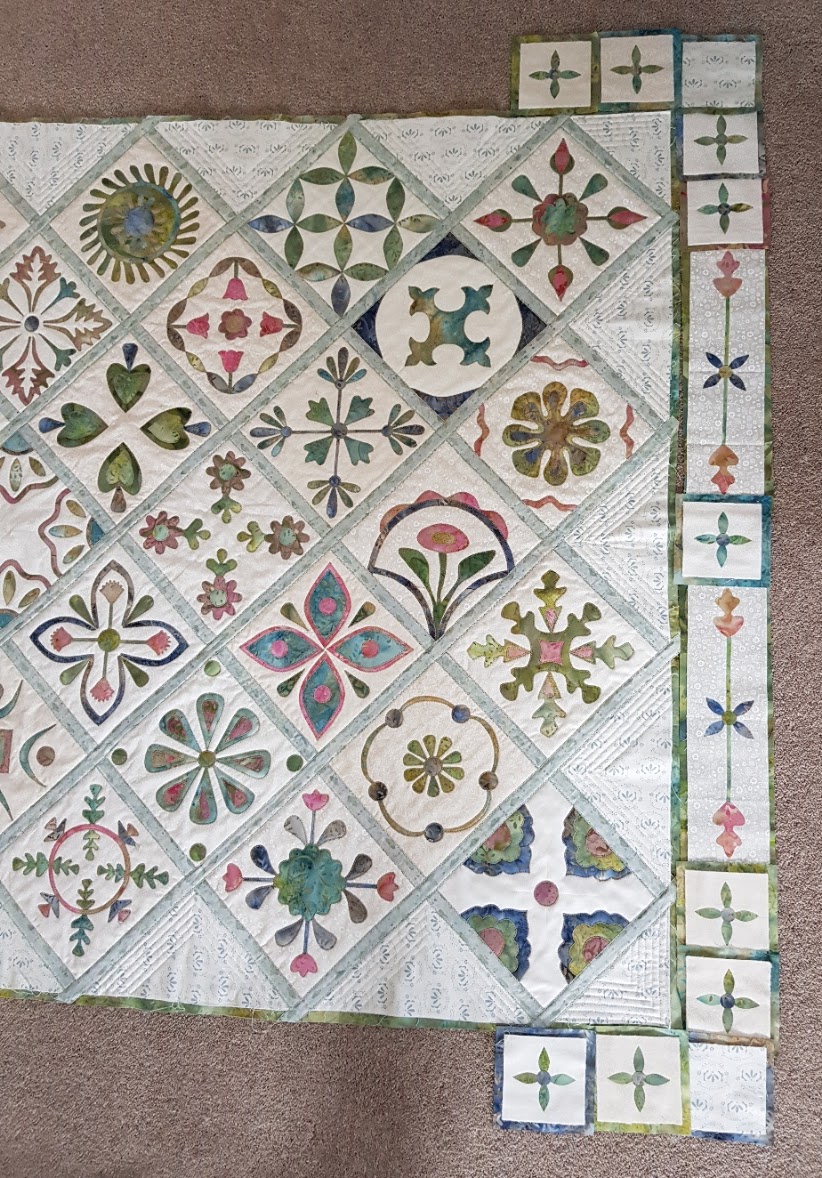
In my last post I showed you how I had started to free motion quilt an older quilt that I didn't have the skills to free motion quilt when it was completed in 2015.  Having initially started with the middle appliqué panel, I couldn't leave it at just that and have now added more quilting to the other two appliqué panels and the border.

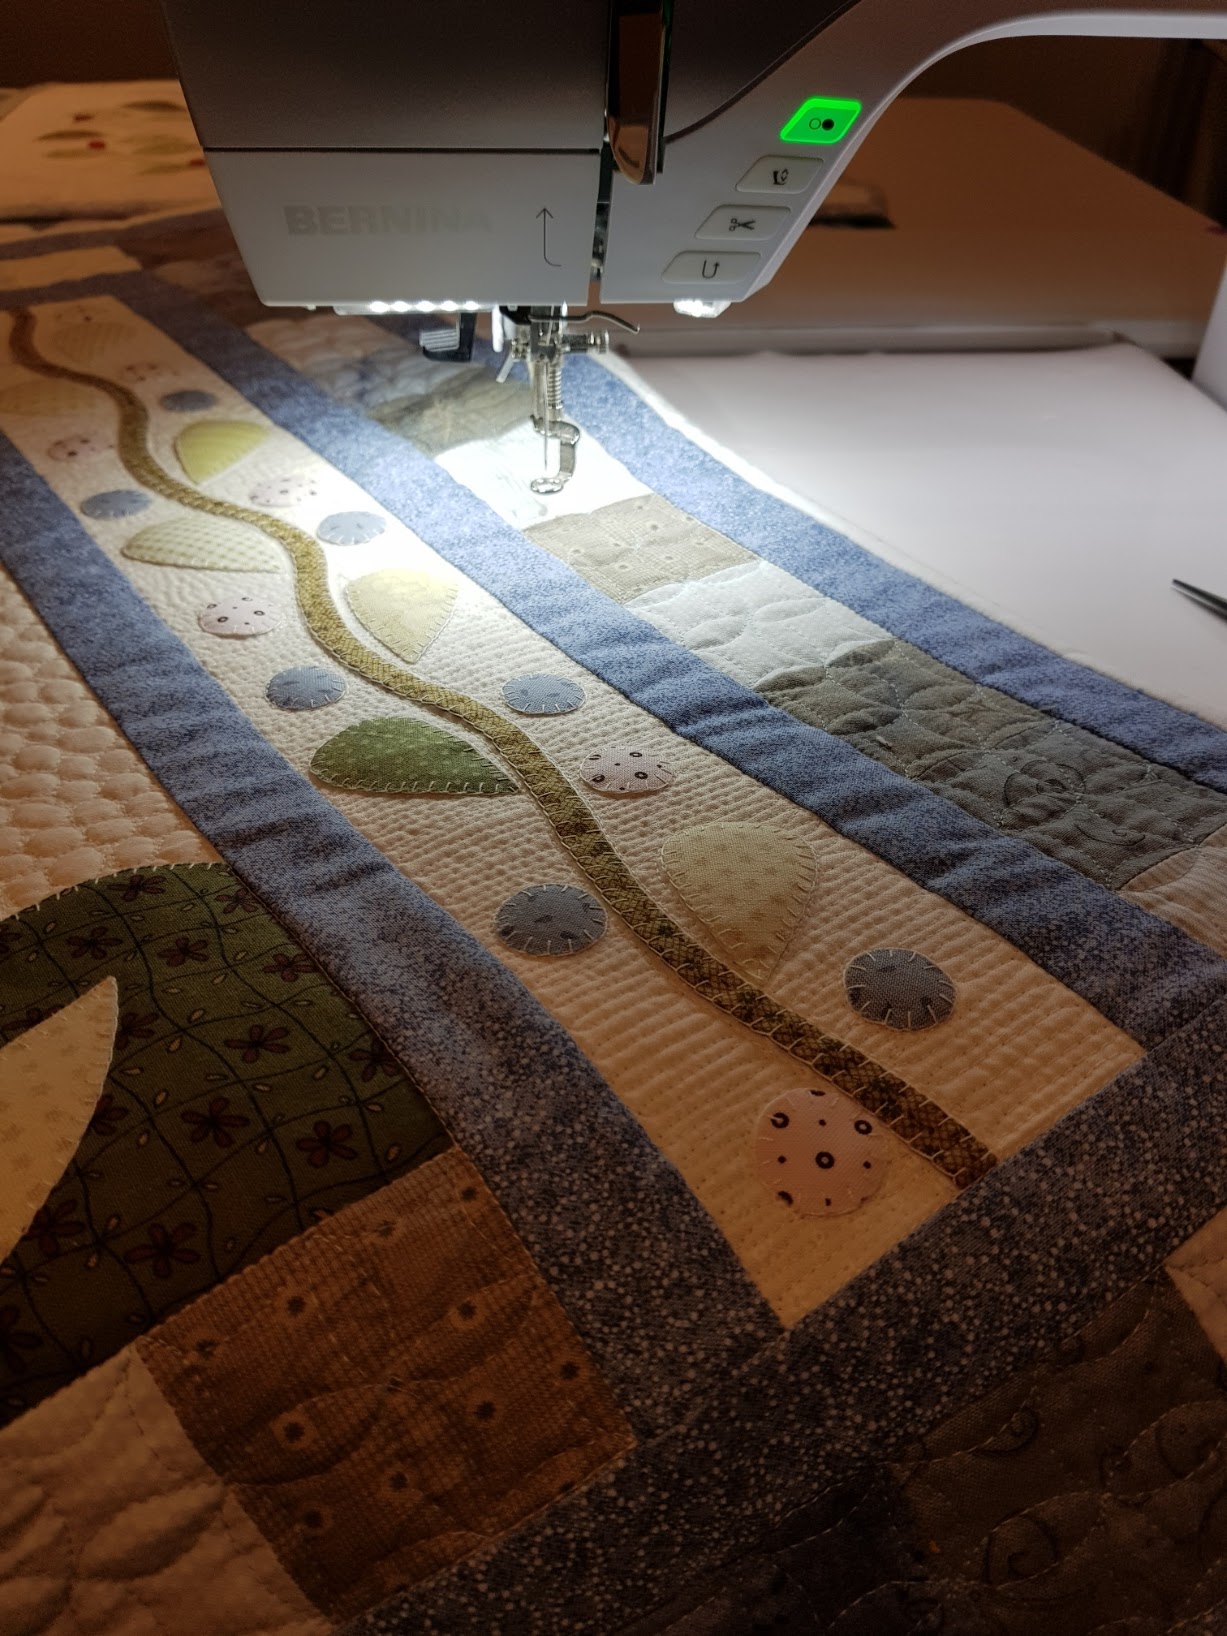
I didn't want to put pebbling in the other two appliqué panels as there is not really enough room for that motif, so I decided to go with straight lines backward and forward.

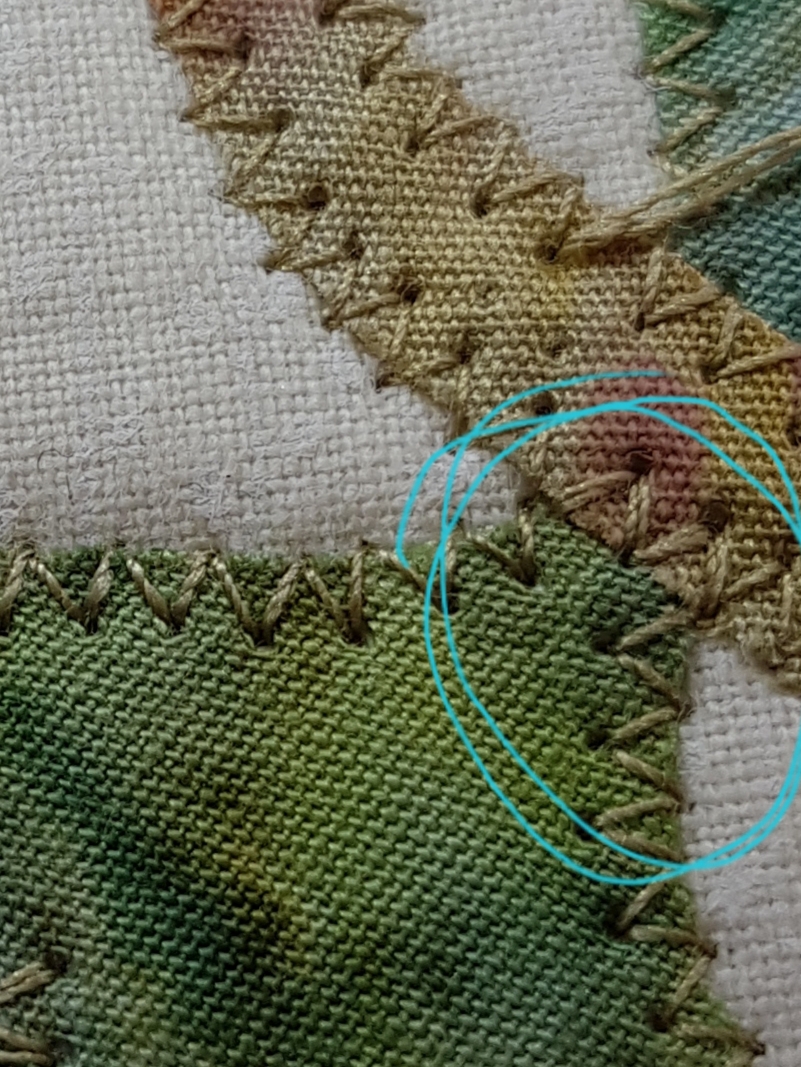
Even this proved difficult in some areas as it was very difficult to keep the stitching smooth and even where the gaps between the appliqué shapes and the sashing were small.

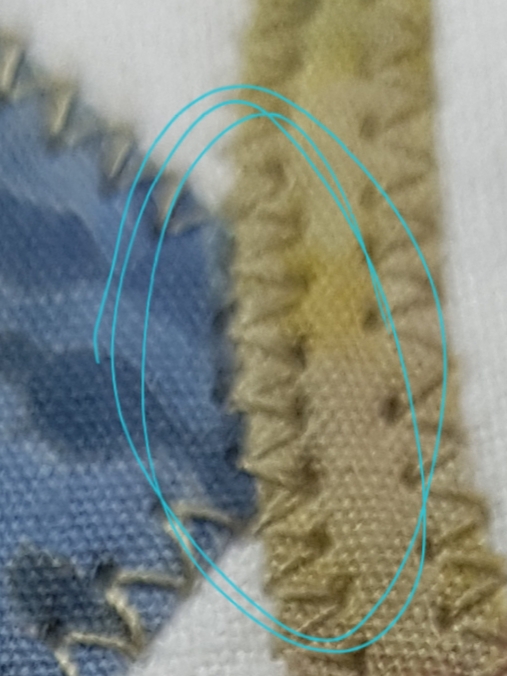
Initially I wasn't going to outline stitch around the appliqué shapes but as I added the quilting I started to notice little puffy pockets appearing at the edge of the shapes. As you can see in the photo above.

Also, I didn't like how it looked on the back where there were just ill-defined gaps between the straight-line quilting.  So, after I had completed the first half of the first side panel, I went back and outlined the shapes.


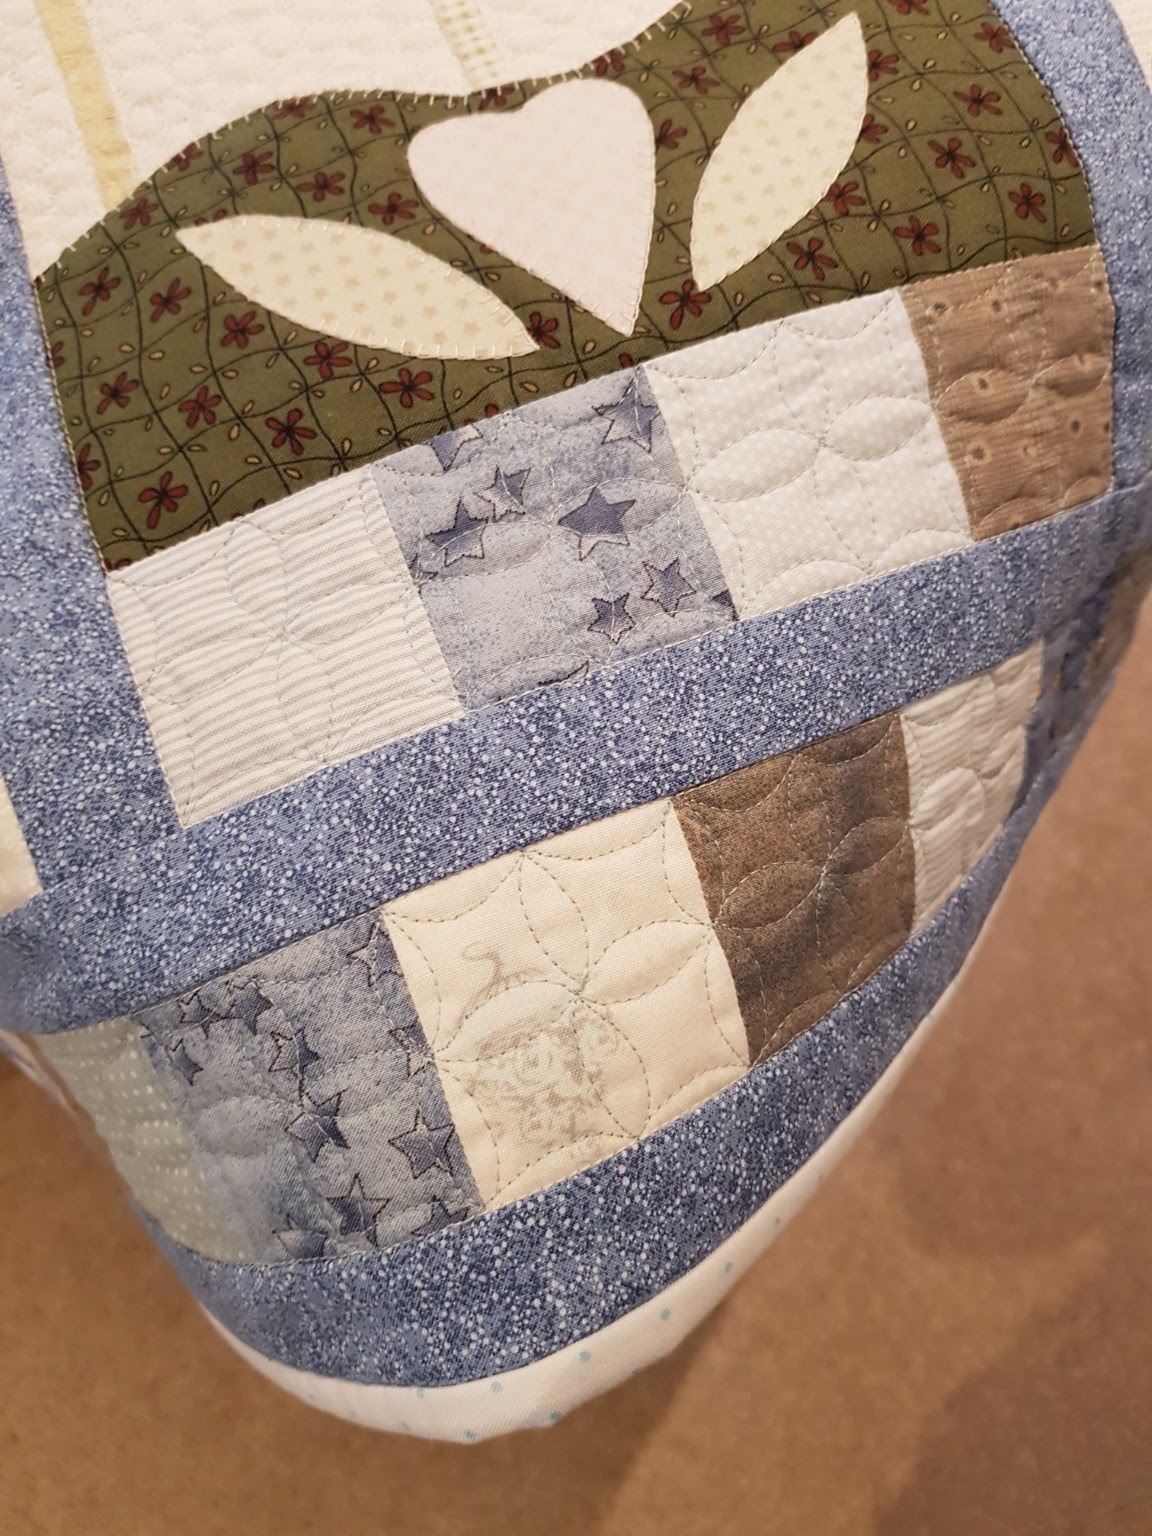
So much more pleasing to the eye both front and back.  The second half of the first panel and the remaining panel I outlined as I went along which made it much quicker.

Then I decided that I needed to add some FMQ texture to the border too, so I quilted an orange peel design in each of the squares.


I can't tell you how delighted I am with the outcome.  It never fails to delight me how much texture and depth FMQ adds to a quilt.  It makes all those hours of practice learning the technique worth it.

I don't think there will be any more sewing from me now before Christmas as my family has started to arrive and they will be keeping me busy!

So I leave you with this picture of my tree (which I decorated last night!) and wish you all a very MERRY CHRISTMAS.

Thursday 15 December 2022

Adding FMQ to an older, finished quilt....

This week I decided to have a change round of the quilts that I have hanging in my house.

As I was moving quilts around I noticed that the one pictured above had a few creases which I didn't like the look of.


It is a quilt designed by Gail Pan and which appeared in Homespun Magazine in 2015. When I finished the quilt in 2015 I hadn't the same experience with free motion quilting that I do today, so I had only very simply quilted the finished project as you can see from the photos below.


I decided that I may be able to 'fix' the creases by adding more quilting and set about free motion quilting the central section of the quilt with pebbles.


It worked and the creases are there no longer as you can see from the photos above.  Of course, now that I have started adding more quilting I haven't been able to stop, so watch this space for photos of the finished re-vamped quilt!!

Until next time..... 😊 xx

Monday 14 November 2022

Another small finish!

Today I have another small quilt finish to share with you.  When I unpacked after we moved house this past July, I came across a number of unfinished projects which I put aside to try and get finished.  One of these projects was a small quilt which had formed part of a Quilt-A-Long hosted by Lori Kennedy back in the Spring of 2017 to practise various FMQ motifs.

All that I needed to add to finish the quilt was a line of FMQ on the two side borders and across the top border.

I quickly managed to finish the quilting and then added a pretty blue print binding.

The majority of the fabrics I used were designed by Lynette Anderson Designs and should you wish to have a look at the original QAL blog posts by Lori just do a search on her website for 'Spring QAL 2017' and you should find the appropriate posts.

Nice to have this little quilt finished. Have a lovely week.  Until next time.... 😊 xx

Monday 31 October 2022

A finish!!!

Yes, I am excited to show you my finished Metro Tiles Quilt!!!  This is a pattern designed by Gourmet Quilter which I have adapted slightly.  Partly intentionally and partly out of necessity!! I finished this earlier today and I am so pleased with it!  It used a QAYG method which I was not familiar with and there were a few learning curves but, I am really happy with the final quilt.  Here is the front....

And here is the back.... 

Which I am pleased with too as I love all the beautiful batik fabrics. Poppy thought it needed comfort testing!! (It passed!!)

I thought long and hard about how to bind the quilt as I wanted to used the same fabric that I had used for the 'grouting' between the tiles but I didn't have enough of it left to make traditional binding with it.  So, I decided to use some leftover grouting strips which had fusible web on one side.  


Instead of trimming off the quilt top as you would when adding traditional binding, I left the seam allowances of the border blocks in place but made sure they were an even width. Then I stitched a 'grouting' strip to the back of the quilt back. The right side of the 'grouting' (ie non sticky side) was placed against the back of the seam allowance of the outer edges of the border blocks. Then I flipped it over and fused the grouting in place on the front of the quilt.  


I then finished the raw edge with a zigzag stitch as I had for the 'grouting' in the rest of the quilt.  It gave me a nice finish on the front which matched the rest of the quilt and a lovely neat finish on the back.

So excited to have this quilt finished!!  Happy Halloween and until next time.... 😊 xx

Sunday 23 October 2022

Another miscalculation and a lesson learned.....

As you can gather from the title of this post, I have managed to make another mistake with the border of my Metro Tiles Quilt.  I won't bore you with all the calculations that you had to read through in my last post but, suffice it to say that I have now learned the lesson not to try and make fabric calculations at the end of the afternoon when feeling tired!!

As I showed you last time, I had planned the original border for my Metro Tiles Quilt (a pattern designed by Gourmet Quilter) as shown in the photograph above and had then managed to miscalculate the length of the rectangular blocks and trimmed them too small.

As I had no more of the fabric (shown above) I was using for these blocks, I had to rethink the whole border and had come up with a nice design which I was happy with.  However, as I had only appliquéd two of the new blocks, I had only laid out the border along one side of the centre of the quilt (photograph shown below).

It looked like it would work perfectly but, if you count the small appliqué squares used there are five down that one side.  Now count the number of those small appliqué squares from the original plan and you will see that I only have 16 in total.  I am sure you can see where this is going.... five for each of the four sides makes 20 so I didn't have enough!!  So it was back to the drawing board and a new design (hopefully the very last) has been decided on.  Here it is...

Actually, I think that this layout is my favourite of the three and, you will see that I was sensible enough to lay all the blocks in position this time round.  As I am really happy with this last layout, I am stitching it together as quickly (but very carefully) as I can before anything else changes!!

Thank you for visiting and have a lovely, creative week! Until the next time.... 😊 xx

Monday 17 October 2022

Progress and a disaster saved.....

This week I was determined to get a bit more sewing done and the week started very well with me finishing off all the appliqué edges on the remaining blocks for my version of the Metro Tiles Quilt (a pretty design by The Gourmet Quilter).

I then started putting the rows together.  Successfully adding the next row (with five blocks)

and the next (with three blocks) and then the final block in the bottom right-hand corner which completed the centre section of the quilt.

This is a QAYG pattern so each of the blocks has a different backing fabric and the finishing of the raw edge appliqué is the quilting as well. 


I love how the backing and the quilting look.

So far things were going very smoothly and, now that the centre section was complete, I was excited to get the border pieced and added. You may recall that I had already started planning and had finished fusing the appliqué pieces for the border of the quilt which I showed in a previous post. 

When I had laid the pieces out previously I knew that some of the rectangular blocks would need to be trimmed down slightly depending on the final measurement of the centre section. So I pulled them all out ready to trim up.

I measured the centre section of the quilt across in three places and determined that the border length that I needed was 39.5 inches (excluding the corner squares). There are three appliqué blocks in each border piece (again excluding the corner squares) and, using the pattern measurements these are 4 inches square. Therefore 3 x 4 = 12 and 39.5 - 12 = 27.5. Then between the appliqué blocks there are four rectangular blocks, so 27.5 divided by 4 = 6.9 (round up to 7) so each rectangular block should be trimmed to 7 inches long.

I set about busily trimming all the blocks (and here please bare in mind that these blocks are cut from the background fabric shown above and which I had only just had enough to cut the border blocks from) only to remember when I had finished them all that I had altered the width of the border from that in the pattern.  My appliqué blocks weren't 4 inches square but 3.25 inches square. Meaning 3 x 3.25 = 9.75 and 39.5 - 9.75 = 29.75 which divided by 4 = 7.4 (round up to 7.5) so now all my rectangular blocks were half an inch short!!! 

Some cussing and pondering later I came up with an alternative for my border!  I couldn't cut more of the background fabric but I did have some scraps of the batik fabrics that I have been using and also of the cream fabric that I had been using for the backgrounds of the appliqué blocks.  Here is my alternative....

I am actually really pleased with it as it introduces more of the colours from the tiles in the centre section of the quilt.

It does mean that there are a few more appliqué raw edges to finish off but I have been quite enjoying that process and it will keep me out of mischief for a bit longer!!

Have a lovely week! Until next time....😊 xx

Monday 10 October 2022

Sometimes you need a break....

Sometimes it is important to step away from a project in order to give it your best.  This is what I have been finding with my Metro Tiles Project. (This pattern is designed by The Gourmet Quilter).

There is quite a lot of work involved in producing each of the blocks.  The appliqué shapes are applied using the fusible raw edge method and in the pattern it is suggested that they are finished using free machine quilting.


I chose not to finish the edges in this way as I wasn't sure I would get the finish that I liked, so I have been finishing mine using a narrow zig zag stitch.

This is time consuming and requires a lot of patience, so I have been having breaks between finishing each of the rows of blocks.

It also means that if you have to stop and start, there are ends to stitch in, so as I hope you can see from the photos above, I have been trying to minimize stopping and starting by occasionally stitching over areas twice.

The alternative (where stitching over isn't an option) is creating lots of ends which need to be stitched in and looks like this.....


I have now finished all the blocks for the next row bar stitching in the ends, so I am making good progress.

Those of you who follow my blog will know that I have been keeping my creative juices flowing when I am not working on my Metro Tiles Quilt with a new to me hobby of Art Journalling.  If you are interested to see my latest pages, I have written a separate blog post here.


In other news we picked a most enormous cooking apple from our garden.... it weighed in at 546g/1.2 lbs!!  

Hope you all have a creative week. Until next time.... 😊 xx